How to record your screen in Windows 10 or Windows 11
If you’re looking to record your screen in Windows 10 or Windows 11 computers, then your search ends here. In what follows, we’ll dive into the best methods to screen record your Windows computer. So let’s jump right in.
How to record your screen in Windows 10 or Windows 11
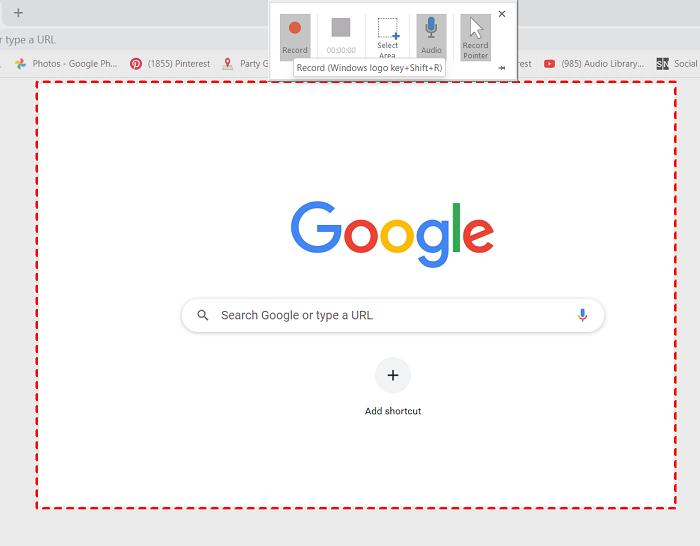
Taking Windows screenshots can be helpful, but if you’re searching for something more concrete to capture your screen, then you can’t go wrong with screen recording your Windows.
Thankfully, for Windows users, there are numerous options for recording their PC. In this article, we’ll first go through a built-in method that can be helpful for screen recording your Windows PC. Apart from that, you can also use third-party apps, which we’ve also covered below. So, without further ado, let’s jump right in.
1. Game Bar
Game Bar, sometimes also called the Xbox Game Bar, is a native Windows app that you can use for capturing screenshots or screen recordings, even if you're not in a game. To get started with the Game Bar, press the Windows key + G and the app will be launched.
Also, note that Game Bar doesn't record Windows desktop or File Explorer. For that, you'll have to skip to the next method. However, it does help you screen record other apps—from Windows Store or from outside—apart from various kinds of games.
After you've launched Game Bar, follow the steps below:
As soon as you do that, you'll see the options to record your screen—which were graded out till now—will become available.
You can choose from two options now; you can either screen record the last 30 seconds of your Windows, or you create a fresh recording for as long as you want. For the first option, click on the icon with an encircled arrow or press the shortcut Windows key + Alt + G again; for the latter, click on the dark circle or press the Windows key + Alt + R.

And this is how you can record your Windows screen with Game Bar. You can later access the recording from theVideosfolder in theCaptionssection.
2. Third-party solutions
The above method is good enough. It does the job and leaves you with a video recording you can later play on.
But, if you want to up your recording quality and length, then that calls for implementing a third-party app. Thankfully, Windows doesn’t have a shortage of quality third-party apps—available in both Microsoft Store and from other sources.
Below we’ve curated a list of a couple of such handy apps that you can rely on, for recording your screen in Windows computer. Let’s cover them one by one.
OBS is perhaps the best app out there, known for its quality video recordings and streaming capabilities. You can connect it with YouTube, Steam, Twitch and Zoom and stream your videos however you like.
An open-source software, the app is available in for Windows, Mac, and Linux and also supports screen recording in the PC. So to get started with OBS, first head to the official OBS website and download the Window version of installer, supported in Windows 8, Windows 10 and Windows 11.
After the download is complete, launch the .exe file and complete the installation. The whole process can take a couple of minutes.
Now the launch the application. As soon as you do that, you’ll get taken to the configuration wizard. From there, selectOptimize just for recording, I will not be streaming, and click onNext.
Now keep the default Resolution and FPS settings, and hit Next again. In a few seconds, the Auto-Configuration Wizard will give you a host of estimated settings most relevant to your computer. Click onApply Settingsfrom there. You’ll then get taken to the main menu.
Here, you’ll need to add what’s called aSourceinside the OBS’Sceneoption from the bottom-left corner. With the default Scene selected from the bottom-left corner, click on the+option from inside theSourceand then click onDisplay Capture.
From here, follow the steps below:
You can, of course, change the default location by clicking onBrowse, setting the destination folder and click onOK. Now that everything has been set up, simply click onStart Recording, andyour Windows screen recording will begin. When you’re done, click onStop Recording.
With the recording stopped, simply go to the designation folder that you’ve set earlier, and now you just have to check out from the settings.
Recording your screen in Windows 10 or Windows 11
Recording your screen is a handy way to demonstrate anything on your PC. Be it installing a software or doing something with changes in Settings, with screen recording you can help out everyone. We have one of methods helped you record your Windows display.


