How to share files from desktop to Laptop? Check here in simple steps
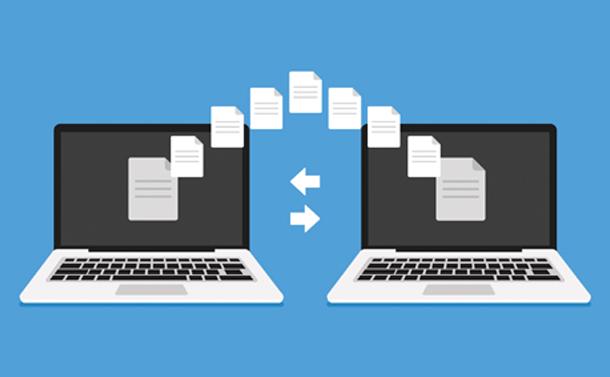
How many times have you struggled to transfer your files from desktop to laptop or vice versa? Many times for sure, right? While incorporating various methods such as sharing your data on Google drive, so that you can access the same in another device or putting your data in a pendrive from your desktop and then again using it in a laptop, too much to deal with right! Well, you have a simpler way too. You can share files and even the internet from a desktop to laptop via Ethernet cable. It can be understood as an internet or file sharing device but without wifi. Here, know how you can use ethernet cable to share files.
Though, it depends on what device you are having. If your desktop and laptop both are Windows, then you can simply use an Ethernet cable, but if you're transferring data from Mac to Windows, then you will need a USB-C to Ethernet adapter.
1. Share files from Windows to Windows
- Connect one end of your Ethernet cable to the square connector on the back of your computer's CPU box, and the other end to the square port on the side of your laptop.
- Open start windows option, go to Control Panel and then click on Network and internet.
- Following that, go to the Network and Sharing center, and click on Ethernet.

- A window will pop up. There go to the properties, and then click on Internet Protocol Version 4 and go to its properties.
- Change the IP address in your computer and following that change it in your laptop too in the same manner.
- Now, you can share the files. Click on any folder or file that you want to share, and click on the 'share' option in the top-left side corner of the Windows, where you can select Specific people or Everyone.
- Now simply copy and paste the desired file to share in the shared folder. And then switch to the laptop, and go to the folder from where you want to access the file and copy-paste your file to your device.
2. Share files from Windows to Mac
- As mentioned earlier, you need a USB-C to Ethernet adapter cable to transfer files in this case. Plug the USB cable side with one end of the ethernet cable and another side on your Windows port. Then a USB-C type cable will be connected to your Mac.
- Then, select a share folder that you want to share on your Windows Desktop and click on the 'share' option in the top-left side corner of the Windows, where you can select Specific people or Everyone.
- Now, switch to your Mac device and on 'Go' in the menu bar and then 'connect to a server'. There, enter the IP address of Windows and then tap on Connect.
- Fill in the details about your Windows computer.
- Now you can place files in the shared folder, the way you did in the Windows to Windows case. To retrieve files on Mac, open the shared folder and click on Edit at the top and copy the files of the folder. Similarly, the same task can be reversed to access the Mac files on Windows.


